• Home
  • Portfolio
    • Work
    • Resume
    • Linked In
  • shop
  • Contact
    • about
    • send a message
    • Social
      • Linked In
      • Instagram
      • Pinterest

CINDY LACKEY

DESIGNER

Faves + (St. Patrick’s Day) Green Inspiration

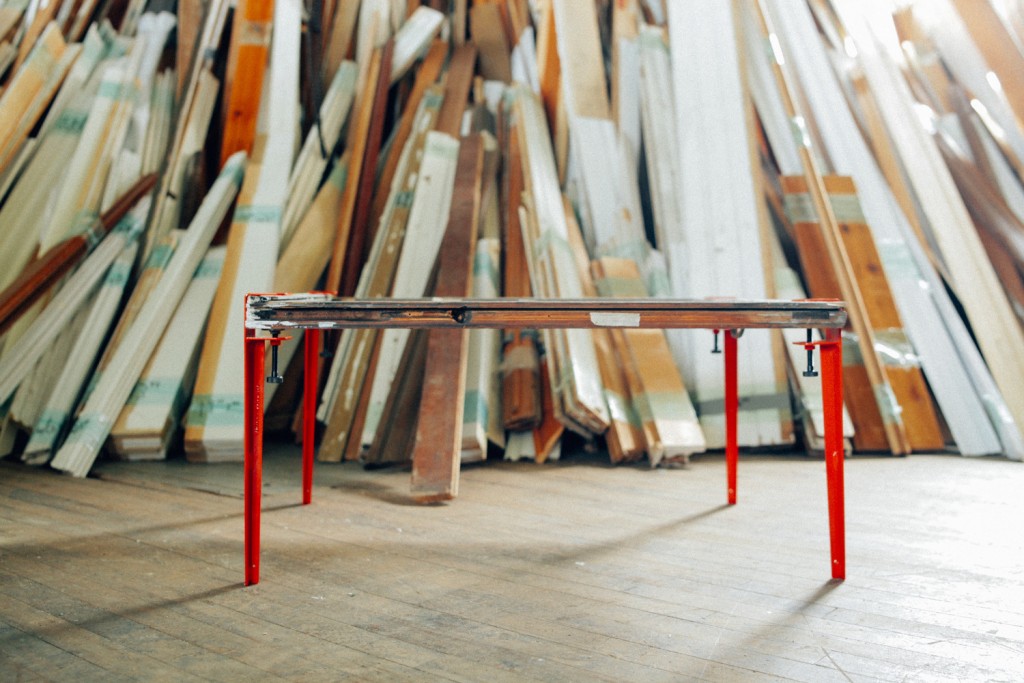
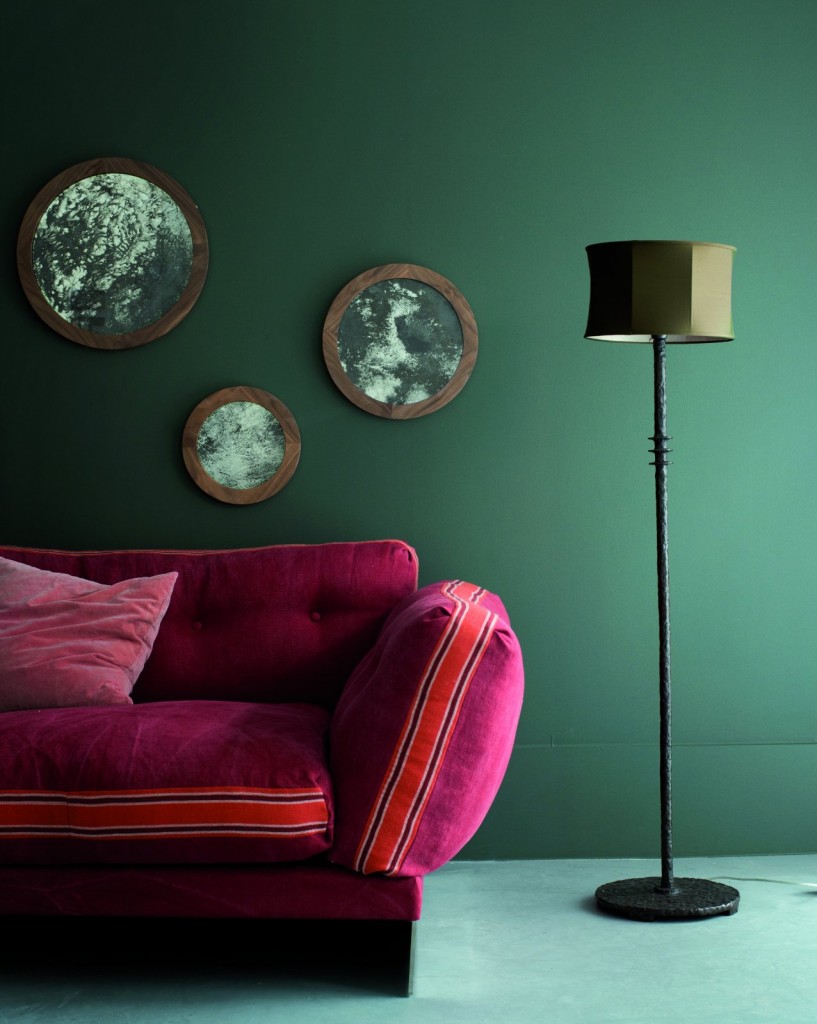
Since today is St. Patrick’s Day, I’ve rounded up some of my fav green interiors for you for inspiration. Green is such a tricky, and yet intriguing, color to decorate with. I was so sure I hated the shade in no. 5, but it works so well with the dark stained countertop + serving board and I’m a convert. My fav shade of green has to be no. 2, in deep emerald (with amazingly awesome fuchsia sofa, love). But I know the weird matte blue-green of no. 6 + 7 is so popular right now, and I love it, too. I was thinking grey for our bedroom walls but now, maybe I’ll be a bit more daring and go deep green!

01_Danielledelange-stylefiles_flicker


02_ochre

03_designsponge

04_sage atelier

05_sfgirlbybay_anthropologie

06_susannavento-fi

07_BrookeHolm

one  /  two  /  three  /  four  /  five  /  six  /  seven

Food + Pizza Crust

00_HeroPizza

I like to think of cooking as an extension of crafting. Crafting that you can eat. We’ve definitely stepped up the cooking at home since we’ve move to Sweden and my skillz have improved with practice. I rely heavily on my Everyday Food cookbooks, Everyday Food + Everyday Food Light. But then I start tweaking things, making notes in the margins or switching out main ingredients to create whole new dishes. No recipe is sacred in my kitchen!

Lately, I’ve been cooking from my recipe board on Pinterest, and found some wonderful food bloggers in the process. My fav to read right now is My Name Is Yeh. She has a wonderful voice, beautiful pictures (which is not easy, people!) and a clean site. Her recipes are easy to follow and I love that she notes the preparation as “clues”. Like she knows tweaking is an important part of the cooking experience and just wants to help you along.

I don’t think of Carole + Ellie as a “food blog” at all, but maybe we can expand the definition of crafting to include food? I have a few basic recipes, all of which can be built upon to make dinner, and a few recipes I’ve tweaked to some success. I thought I would share them with you here.

Let’s start with one of my favorite staples, my basic thick pizza crust. One of the things I miss the most about America is Pizza Hut (and all my family and friends of course! But also, Pizza Hut). Fast, warm, butter filled pizza right to your door in 30 minutes for pennies! What’s not to love? But alas, all we have found for take out here is flat, crispy Italian style pizza. Also good, but not what I crave. I tried so many recipes for pizza dough, but for the longest time I couldn’t figure out how to make the dough rise. I mean I used yeast and everything, but nothing doing.

Then, I found Carlsbad Cravings’ Perfect Pizza Crust and smacked myself on the forehead. Just don’t roll the dough out as much! And pinch up the crust to make it big and dough-y. And cook the crust a little first. Genius. Then, I tweaked everything. Here is my version of the perfect pizza dough.

01_TITLE


BASICS: Pizza Crust

prep: 1 1/2 hour  |  cook: 10 minutes
yield: 2 pizza crusts (12” each)

ingredients

1 1/2 cups warm water (105-115 degrees)
1 tablespoon active dry yeast
1 tablespoon sugar
1 tablespoon olive oil + more to coat the bowl
4 cups all-purpose flour + more for working dough
2 tablespoons butter

+ pizza toppings

hints

In the large bowl of your stand mixer, combine water, sugar + yeast. Let stand 5 minutes till yeast is foamy across the surface.

Using your mixer’s hook attachment, mix in olive oil, salt + 1 1/2 cups flour till combined. Gradually mix in remaining flour till dough pulls away from bowl (you may not need all the flour). Knead by hand or on med-low speed for 5 minutes.

Coat a large bowl with olive oil. Shape dough into a ball and place in bowl. Cover tightly with plastic wrap + let rise for 1 hour or till doubled in size.

While you wait, place pizza stone in oven + preheat to 475 degrees for 30-60 minutes.

Remove dough + knead a couple of times on floured surface. Divide into two equal parts (freeze or refrigerate one now, if you would like). Remove pizza stone and butter surface with 1 tablespoon butter. Roll dough out to 12” round and about 1/4” thick. Pinch up dough around the edge to create a crust.

Transfer to pizza stone and prick with a fork several times. Bake dough for 4 minutes. Remove, brush crust edge with remaining butter. Prep and add toppings. Bake for 8 more minutes or until cheese bubbles and crust is golden.

// That second pizza crust can be made up to three days later, if you popped it in fridge, and three months later, if it’s in the freezer. Just leave it over night in the fridge (if frozen), then out on the counter for about 30 minutes to warm up.

DIY + Wooden Bead Trivet

01_hero
02_hero

I started out this little DIY a week or so ago. I was super inspired by this tutorial I found on Carnets Parisians (it’s French).  I really like how it’s a string of beads instead of a loop. So cool and French, somehow! I thought I would mix it up with a couple sizes of beads and a bit of white paint. Easy-peasy. And it all looked great till I placed my lovely delicate glass tea pot on top and things started to roll (as round beads will). Maybe something got lost in translation. Anyway, it was back to the drawing board.

I had spotted these lovely faceted beads in the wooden bits area of our local craft shop and I finally had time to go and snatch them up this weekend. Not only are these faceted beauties right on trend they also have gloriously large and flat bottoms (hehe). I used 5 of these “lemons” for my trivet string. Three fit well under my glass tea pot (with a cute tail of two) and all five work best for larger pots and pans.

03_2pots+detail

SUPPLIES

3 ply jute twine

Five wooden lemon beads (or other large flat bottomed wooden bead)

Eighteen 12mm round wooden beads

(optional) Two 10mm round wooden beads

white craft paint (I used Martha Stewart Crafts Multi-Surface Satin Acrylic in Wedding Cake)

thin paint brushes + holding cup

.
04_supplies

TO MAKE

Pop a few of the 12mm beads on to the ends of the thin paint brushes and give them two coats of white paint  (I painted 6 beads). Allow a bit of dry time.

.
04_tomake


Thread the optional 10mm bead onto the jute, or just start with a 12mm bead. Then thread on the rest of your beads, I used a 3 to 1 pattern to keep the big lemon beads separated and I tried to add the painted beads randomly. Tie off the jute at each end with a square knot around the last bead and thread the jute tail back into the bead.

.
05_close1

06_close2

Now go forth and cook up some hot stuff, hot stuff! (see what I did there?)

Pick of The Week + The Floyd Leg

I don’t often post on Mondays. Mostly because it would mean that I would either have to draft on Sundays or have my act REALLY together and draft on Fridays. Well folks, that’s all about to change. I am getting my resolutioning (totally a word, right?) butt in gear and creating a new Monday series: Pick of the Week.

I’ve been seeing so many exciting things in furniture and product design. You’ve probably spotted these if you are following me on Pinterest (btw, you should look into that). I’m excited to take a minute and really look into some of the best things here on the blog once a week.

So without further ado, my first pick is The Floyd Leg.
TheFloydLeg_1

This ingenious leg set started out on kickstarter and then was launched last July. The legs are sold as sets of four in 2 heights + a shelf mount and a heavy duty option. You simply attach them to nearly any flat surface, and BAM, you’ve got a table. The color palette is really well edited primary colors and black + white. The legs are all made state side in Detroit (which is booming as a maker town). I think it’s a really interesting way to look at furniture for a new society of renters and city dwellers who are not afraid to do a bit of the making themselves. The Floyd Leg has promised more products in September and I can’t wait to see whats next.

about

Hello! I’m an interior, user experience, and graphic designer with a love for purpose-driven minimalism. I am also a digital nomad originally from California, currently living in Barbados, by way of Colorado, with my husband and our two cats.

FOLLOW ALONG

  • Instagram
  • LinkedIn
  • Pinterest

just what you’re looking for

© Cindy Lackey | Site design handcrafted by Station Seven