• Home
  • Portfolio
    • Work
    • Resume
    • Linked In
  • shop
  • Contact
    • about
    • send a message
    • Social
      • Linked In
      • Instagram
      • Pinterest

CINDY LACKEY

DESIGNER

Old Posts + Life These Days

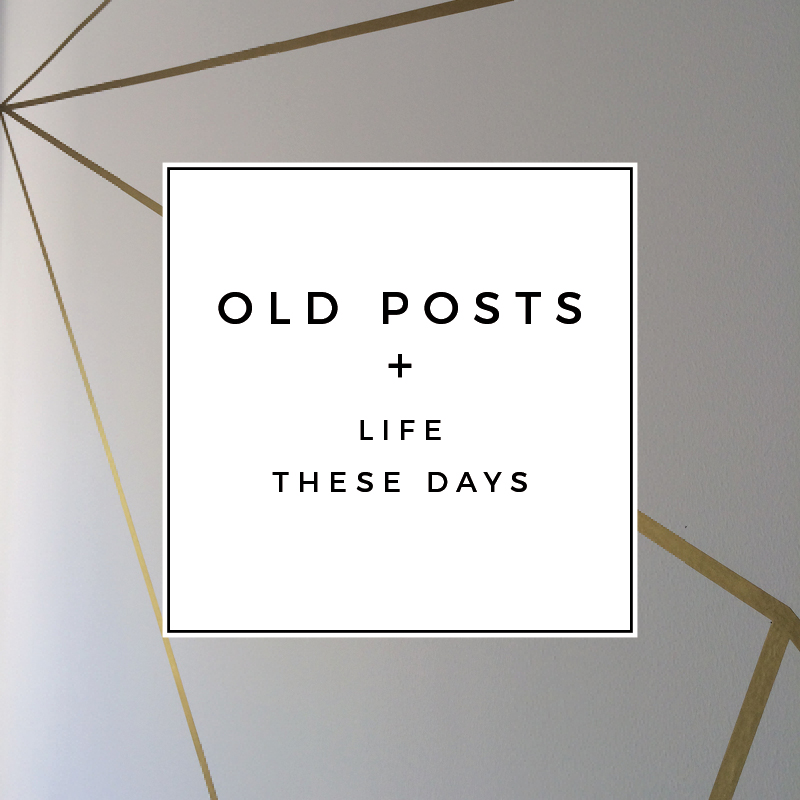
I recently have been receiving the kindest emails from you. First, I’m so sorry. I know how frustrating broken links are and I’m so touched that so many of you have emailed me asking where the old posts can be found. So here’s what happened.

I switched website platforms so instead of using Squarespace, I’m now using WordPress. I really loved Squarespace, their interface was awesome and clean, the templates were nice. But, in the end, I needed a little bit more customization to create things like my personal website + portfolio. Plus, I totally fell in love with Station Seven and all their beautiful templates. This is Coastal.

So, when I made this big switch, I was able to upload all my blog text, BUT all the images were hosted by Squarespace so they all are now tiny icons instead. I went back and re-uploaded images to this site for my most recent or most favorite posts. However, the really old posts are silently waiting until someone emails me and asks after them.

If you loved an old post, maybe you saw it on Pinterest or BHG and the link is broken, write me or post a comment here. I promise to search it out, dust it off and make that post live for all the world to see.

02_INSTA-Collage

And as for what is going on with me? Well, I hope you’ve been following along on Instagram and Snapchat, but if not here’s the update:

I finished up language school last winter and I got a job! I am working as an Interior Architect for a navel engineering firm in Copenhagen, which means I get to design the inside of ferry, cruise and offshore platforms. I hadn’t even ever considered designing for marine but its basically a designer’s dream job because it’s essentially a hotel, just in the water. So we design ever type of space, from the lobby to the restaurants (usually multiple, all with different concepts) and the cabins to the lounges, plus all kinds of specialty spaces like movie theaters and game rooms. It is a pretty darn fun gig.

On top of all the fun professional stuff, we’ve been traveling like crazies. Seriously, we’re averaging one trip a month this year. Mostly we’ve been exploring all Sweden has to offer with trips up to Gothenberg or way way up to Abisko. During our summer holiday (because this is Europe and we all take a month off in the summer) we headed up the Stockholm and just wandered around all their neighborhoods for four days. It feels like there is so much to see right here in our own backyard!

Anyway, I just wanted to pop in and say send me a message if you want and old post and I hope you are having lots of adventures, too.

DIY + Candle Wrap

01_compleate-topdownlight

I’ve been messing around a lot with the oven-bake craft clay I used for the woodland animal pin’s from the Camp Baby Shower. It may be my new fav craft supply. I love how quick it takes to bake and how easy it is to manipulate into any shape. The baked clay looks so similar to ceramic, which is another new fav obsession of mine.

For this little candle wrap project, I rolled out the clay as thin as could be and placed it around a glass cylinder to bake. You could smooth a bottom section onto this project, but I left mine as a wrap sleeve. The candle light looks so pretty shining through the super thin clay. Just as if it were real ceramic. Love.

02_materials

SUPPLIES

bake (or air dry) modeling clay in white

embroidery floss + needle + scissors

glass cylinder (needs to be okay to bake in the oven)

roller (I used a really large gage knitting needle)

xacto knife

hole poker (I used a large yarn needle but toothpick or a skewer would work well)

straight edge

wax paper or other grease proof paper + cutting mat

03-1_ToMake-Collage

TO MAKE

Pre heat your oven following the directions on the clay.

Prep your cutting mat by taping it off with the wax paper so you don’t have bits of clay forever on your work surface.

Roll your clay into a ribbon long enough to surround the glass cylinder + 2 cm / 1”. You want the clay as thin as it can be but you should still be able to pick it up without it tearing. Remove any air bubbles by slitting the clay and smoothing with a tiny bit of water and your fingers or roller.

Cut the ribbon straight with the xacto + straight edge. I made my wrap about 7 cm / 2 3/4” tall. Fold back clay 1 cm / 1/2” on each end. Poke the folded edges with an even number of holes spaced to align and 0.5 cm / 1/4” apart.

Wrap the ribbon (fold side in) around the cylinder and bake following the directions on the clay. Carefully remove the clay from the cylinder just after they come out of the oven when the clay is still somewhat pliable. Let harden.

03-2_ToMake-Collage

Sew up the candle wrap with embroidery thread and cut the knotted ends close to the inside. Pop your little creation over a lit tea light.

04-1_Final+detail

04-2_Final

04-3_final-dark

DIY + Earring Ribbon


01-2_DETAIL

My desk is covered in crafting supplies right now. It makes the creative side of me so happy and the neat and organized side of me crazy to CLEAN ALL THE THINGS!

I’m working my way through all the craft projects for the Hazelnut’s baby shower, which is super fun and also masquerades as productivity. It’s got me in a camp-y crafting mood. So this DIY turned out a bit camp-y craft-y (look at me just make up words!). You know, like arts and crafts done in the fresh mountain air while sitting on a hard splinter ridden bench. What do you call that?

01_TITLE

I think I’m loving it, though. It’s feeding my organizational side. Now my earrings aren’t in a clump in a bowl where it is impossible to find a matching pair. See, organized side? I’m getting things cleaned up!
02_Materials

MATERIALS

16” of 1-1/2” (approx. 41 cm of 4 cm) cotton twill tape 

black embroidery floss + needle

large paper clip

needle nose pliers

scissors

(I’m not sure how the paint brush got in the photo. Like I said, my desk is a crafting mess!)
03_ToMake-Collage

TO MAKE

Fold the paperclip into an equilateral 1-1/2” (4 cm) triangle (with overlap). I mushed my corners around so they looked more sharp and less paperclip-like.

Fold the cotton twill tape end over on itself twice and press it down with the heat of your hand (I love cotton twill tape. No iron required!). Slip the overlapped edge of the paper clip into the fold of your cotton twill tape end. Hand stitch the end closed. Fold the other end of the cotton twill tape over on itself twice and stitch in the same way. Hang from a nail.
05_final

Valentine’s Day DIY + Felt Heart Pin

01_hero


We have a pretty silly Valentines Day tradition. B and I wear big puffy felt hearts all day! They reminds us of our love while we’re off at work or out in the world.

I made this set maybe four years back so I’ve drawn out the tutorial for you guys. It’s super easy to craft together for a last minute Valentine’s Day surprise.

.
02-1_drawing-Materials

SUPPLIES

2 sheets of craft felt

this heart template (or just free hand it)

embroidery floss + needle

a small bit of pillow stuffing

safety pin

pen
02-3_drawing-Make


TO MAKE

Cut out two hearts from the felt using the template and pen. Stitch the hearts together with embroidery floss about 1cm (about 1/2”) from the edge. Leave a small 5 cm (2”) opening with the needle and thread still attached. Stuff the heart with the stuffing and close up and tie off your heart. Stitch the non-opening side of the safety pin to the back of the heart at the fullest part (or just above).

I jazzed up my heart a bit by cutting away the top felt at the humps just a little to reveal the back felt. I encourage jazziness whenever possible.

.
05_final


Now, pin the heart to your chest and wear it proudly.

Have a happy Valentine’s Day!

.
04_final-diptic

DIY + Marble Phone Case

01-hero2

One of my (too many?) new year’s resolutions was to try not to use gold/copper/something shiny in every craft project. In an attempt to curb my obsession I’ve been looking at new trends, like marble. Granted, my inspiration for this DIY was Julia Kostreva’s gold flecked marble iPhone case, but I still feel it was the right direction!

.
01-herodiptic


Nail polish marbling takes a couple tries to get perfected, but once you get the hang of it, it’s difficult to resist dipping EVERYTHING in.

.
02_supplies-brownpaper

SUPPLIES

clear phone case

nail polish (I used essie in blanc)

warm water

shallow disposable container

mixing stick (like a chopstick or a toothpick)

helpful holding suction cup tool (the one I used was borrowed from our shower caddy)

nail polish remover (for corrections)

.

03-tomake-collage_4sm

TO MAKE

Fill the container with enough water to allow the case to submerge. You want the water slightly warmer than room temp so the nail polish doesn’t dry too fast. Secure your helpful suction cup tool to the case and get ready to work quickly.

Pour a small bit of the polish in. It will dissipate into a film. Then add more polish on top of the film in a swirl. Working quickly, stir the polish with your mixing stick into a marble swirl pattern. Submerge the case into the pattern. I felt that about a ‘half way up the side of the case’ submersion was ideal for keeping the paint out of the inside of the case while still maintaining full coverage on the back of the case. Remove and let the case dry.

Use the nail polish remover to touch up your design or remove the pattern completely and start over till your happy with the design.

EDIT: After some in-the-field testing, I realized that, of course, a protective coat is necessary to keep your final design pristine. I applied a few coats of gloss Mod Podge spray but clear Minwax or Krylon Crystal Clear would work, too. Alternatively, you could create your design on the inside of the case. Happy crafting!

.

04_finalcollage_3sm

  • 1
  • 2
  • Older

about

Hello! I’m an interior, user experience, and graphic designer with a love for purpose-driven minimalism. I am also a digital nomad originally from California, currently living in Barbados, by way of Colorado, with my husband and our two cats.

FOLLOW ALONG

  • Instagram
  • LinkedIn
  • Pinterest

just what you’re looking for

© Cindy Lackey | Site design handcrafted by Station Seven