• Home
  • Portfolio
    • Work
    • Resume
    • Linked In
  • shop
  • Contact
    • about
    • send a message
    • Social
      • Linked In
      • Instagram
      • Pinterest

CINDY LACKEY

DESIGNER

Faves + Easter Eggs

00_collage-faveastereggs

1  /  2  /  3  /  4

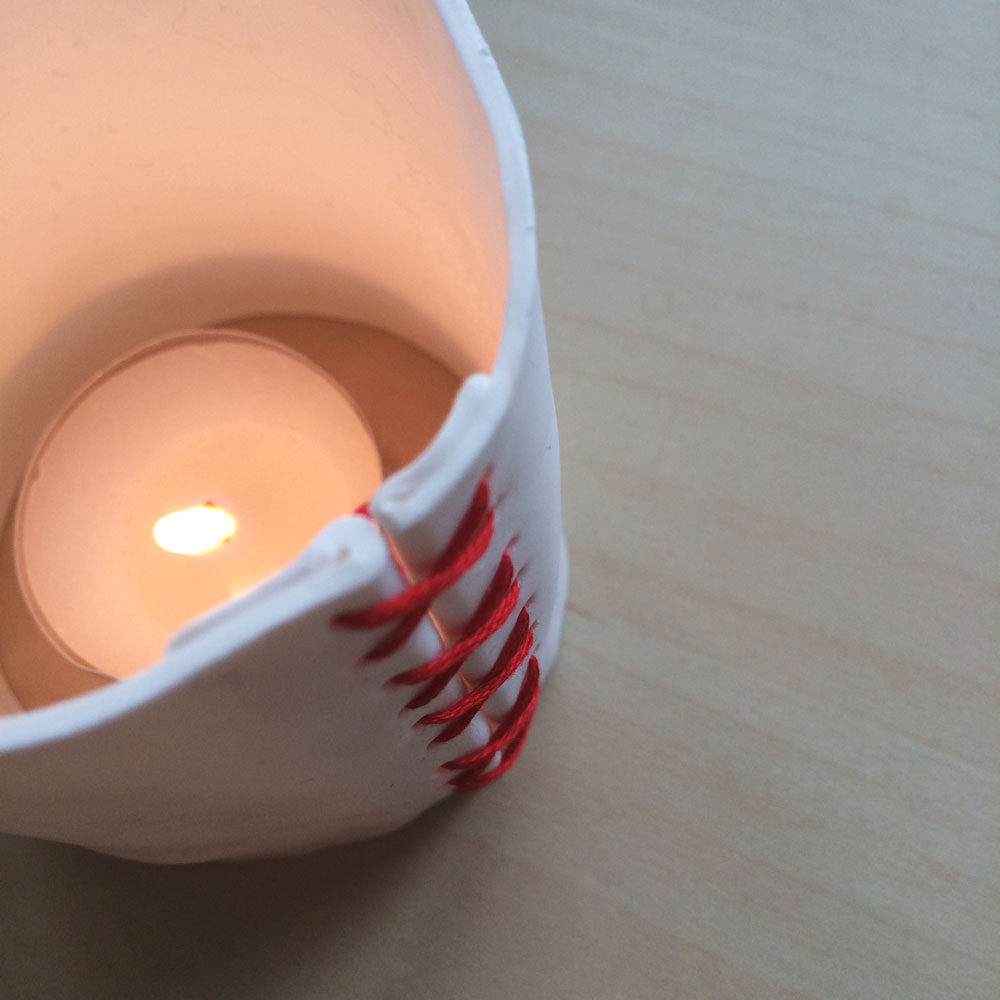
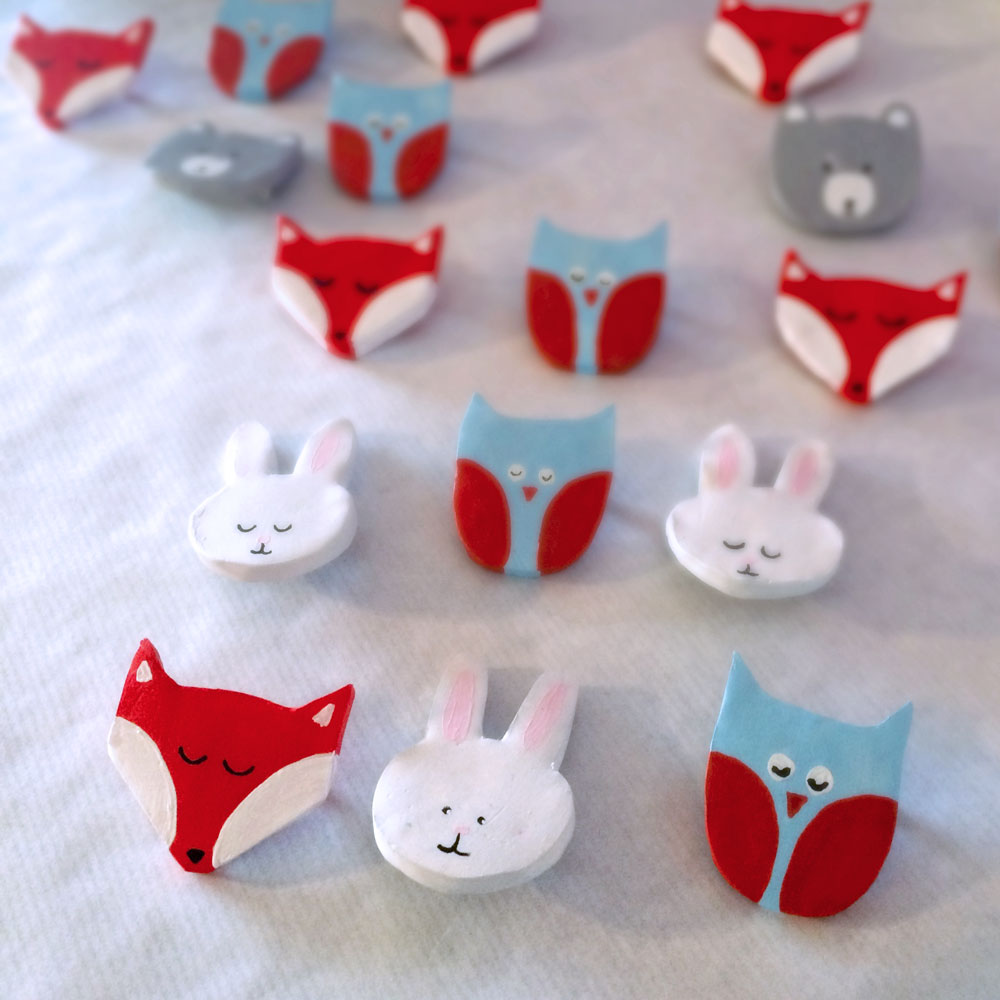
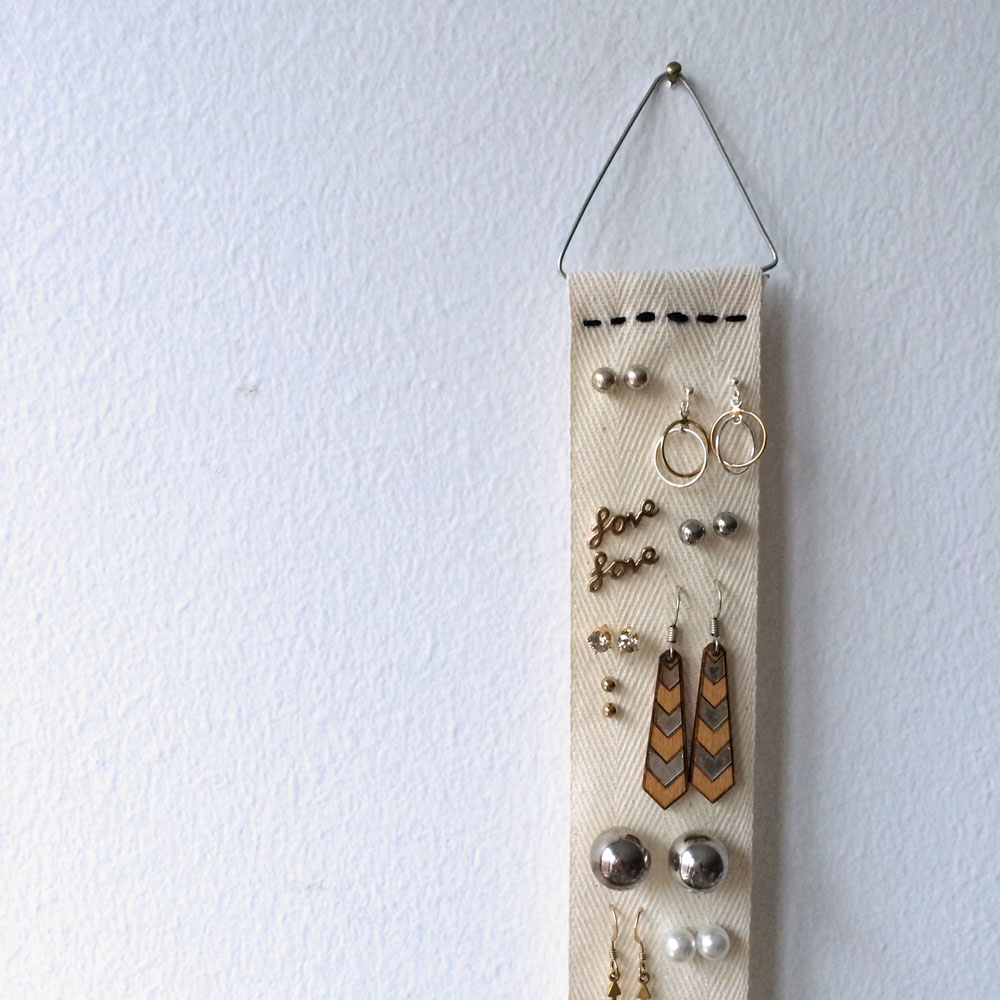
This latest DIY I’m working on is kicking my butt! Have you ever worked with something for so long you stop being able to see any good in it? That’s where I’m at with this ridiculousness. On top of the feelings of inadequacy from not being about to make children’s toys into grownup and cool things (hint from three weeks ago), I’ve also seen two favorite little sketches of DIY ideas from my notebook end up on two of my favorite design blogs. It’s like these amazing and talented bloggers are drinking the same thought juice as me or something (is that too gross?). I think what I’m asking is: are we just all working with the same design rules and same materials and coming up with the same (slightly modified) things? It’s like that question from the Stockholm Furniture Fair: Do we need more chairs? I know the answer must be yes, there is always more to be designed, design isn’t over and I can contribute. But sometimes (like these last two weeks when I’m already stressed from too much school and not enough design time) it feels like everything has been done and I should just give up.

I just reread this amazing Ira Glass quote that is currently my desktop background (care of the always beautiful Design Love Fest) and am trying to remain calm and just do the work. Next week you will get this children toy turned grownup (hopefully) cool thing (see how I set goals?).

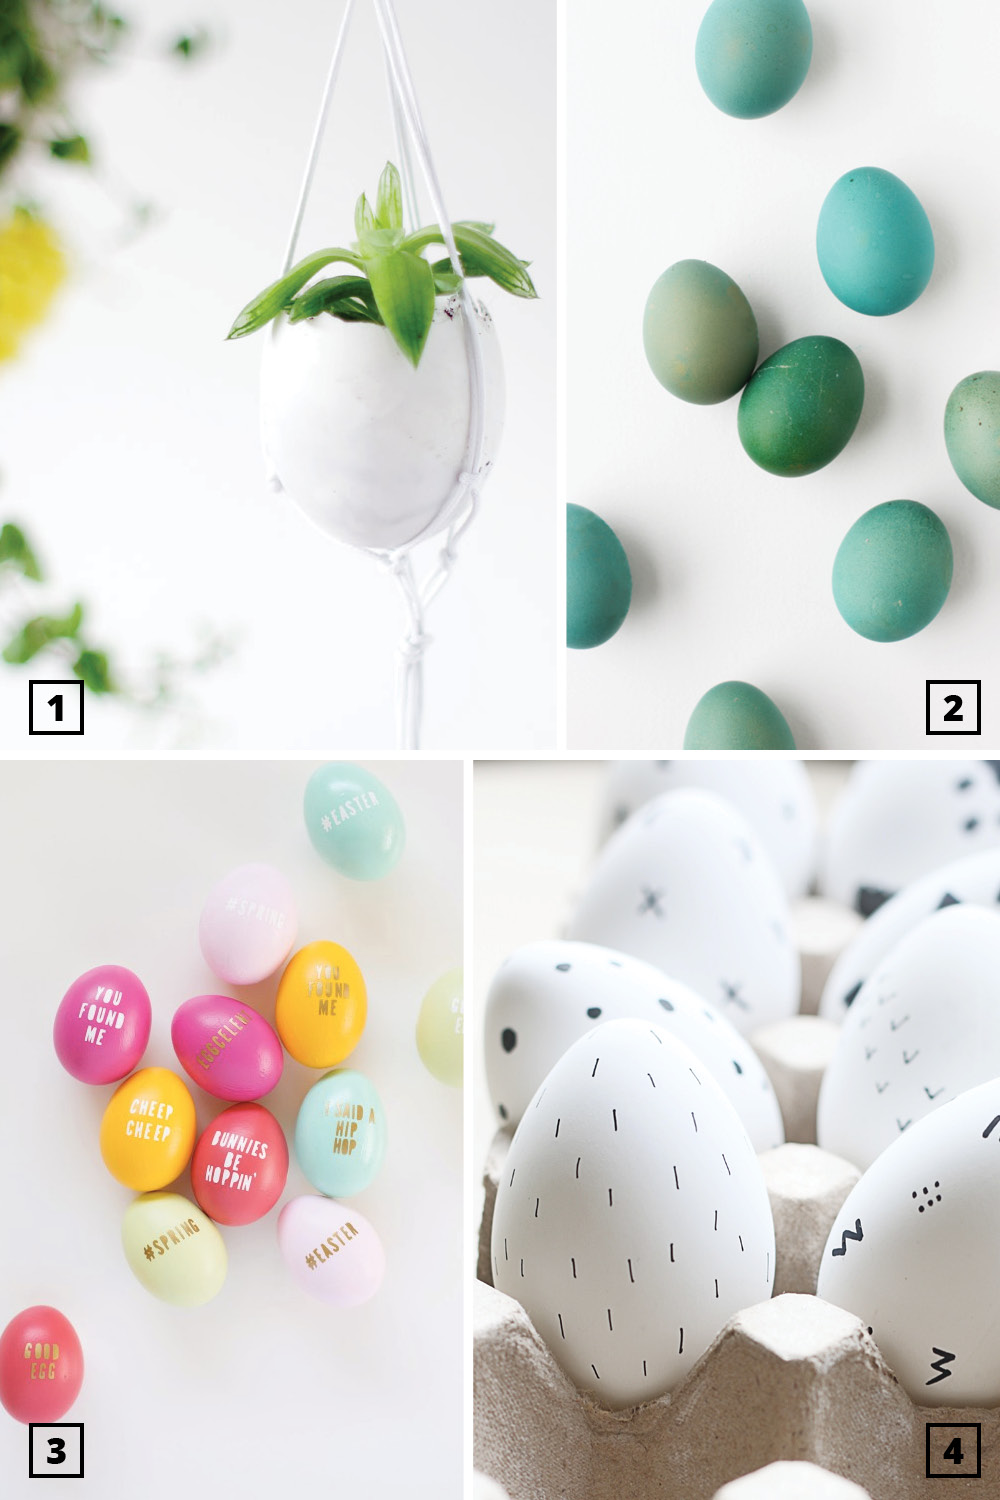
However, you will not get a Easter egg DIY from me. You have to visit these wonderful blog peoples sites for that. I know I will be this weekend. Because sometimes a girl just needs a little easy crafting to remember how good it can be.

00_collage-faveastereggs2a

5  (these are edible!)  /  6  /  7

Now, I’m off to make a stove top modified version of this chili for dinner. Yum!

DIY + Candle Wrap

01_compleate-topdownlight

I’ve been messing around a lot with the oven-bake craft clay I used for the woodland animal pin’s from the Camp Baby Shower. It may be my new fav craft supply. I love how quick it takes to bake and how easy it is to manipulate into any shape. The baked clay looks so similar to ceramic, which is another new fav obsession of mine.

For this little candle wrap project, I rolled out the clay as thin as could be and placed it around a glass cylinder to bake. You could smooth a bottom section onto this project, but I left mine as a wrap sleeve. The candle light looks so pretty shining through the super thin clay. Just as if it were real ceramic. Love.

02_materials

SUPPLIES

bake (or air dry) modeling clay in white

embroidery floss + needle + scissors

glass cylinder (needs to be okay to bake in the oven)

roller (I used a really large gage knitting needle)

xacto knife

hole poker (I used a large yarn needle but toothpick or a skewer would work well)

straight edge

wax paper or other grease proof paper + cutting mat

03-1_ToMake-Collage

TO MAKE

Pre heat your oven following the directions on the clay.

Prep your cutting mat by taping it off with the wax paper so you don’t have bits of clay forever on your work surface.

Roll your clay into a ribbon long enough to surround the glass cylinder + 2 cm / 1”. You want the clay as thin as it can be but you should still be able to pick it up without it tearing. Remove any air bubbles by slitting the clay and smoothing with a tiny bit of water and your fingers or roller.

Cut the ribbon straight with the xacto + straight edge. I made my wrap about 7 cm / 2 3/4” tall. Fold back clay 1 cm / 1/2” on each end. Poke the folded edges with an even number of holes spaced to align and 0.5 cm / 1/4” apart.

Wrap the ribbon (fold side in) around the cylinder and bake following the directions on the clay. Carefully remove the clay from the cylinder just after they come out of the oven when the clay is still somewhat pliable. Let harden.

03-2_ToMake-Collage

Sew up the candle wrap with embroidery thread and cut the knotted ends close to the inside. Pop your little creation over a lit tea light.

04-1_Final+detail

04-2_Final

04-3_final-dark

Crafted + Camp Baby Shower

01_TITLE-campbabyshower

This past Saturday was The Hazelnut‘s baby shower in Oslo. I was so lucky to work with two lovely, talented co-hosts, Audrey‘s good friends Zoë and Chelsea. Together we coordinated decorations, games and refreshments across international boarders (well, one boarder, Sweden to Norway) and to great success. Our theme started with The Hazelnut nursery mood board and shifted to be an even more camp-y feel. Thus Camp Baby was created.

01-2_TITLE-campbabyshower

02_YOGURTBAR-campbabyshower

I modified a few crafts from around the web to fit our theme, including these great animal face pins as our guest’s favors. Chelsea pulled together a full yogurt bar, complete with hand lettered spoon labels and Camp Yogurt Bar sign (No Boys Allowed!).

03_MARSH+OVERALL-campbabyshower

photos by Chelsea Ranger

I crafted up a little mountain + forest table-scape with orange tent (inspired by Pink Stripey Stocks) cut from cardboard and painted. And Zoë had the amazing idea to add a tiny campfire and mini marshmallows for roasting using toothpicks. So cute!

We also played a few literary themed quiz style games using Kahoot (which worked great). Zoë crafted up 20 paper birthday cards with simple, graphic fabric numbers and each guest wrote a a note to The Hazelnut for her to read on her first through 18th birthdays. I’m not sure how I missed getting a pic of these. They were really great and I know The Hazelnut and Audrey will look forward to opening them every year.

Chelsea did capture a shot of us reading Audrey’s “Telegrams” from friends and family in the States. There is always a few key people missing from parties like these because we are expats. To make everyone feel a bit more connected, I hosted a virtual baby shower (with Audrey’s mom and our best friend Amy) on Facebook for a couple weeks leading up to the party in Oslo. Everyone wrote in with welcome telegrams for the new baby and advice for the new mom. I printed all the messages onto 4×6 cards with a cute little fox logo. We passed them out at the party and had the guests (mostly literary folk) read them aloud. The idea worked beautifully and there were more than a few chuckles to go along with a couple tears.

03-2_fb+OVERALL-campbabyshower

// Party Crafts

Woodland Creature Favors

Mountain + Forest Table-scape inspiration

Scalloped Orange, Blue, White + Gray Streamers

Clear balloons filled with 1″ confetti in orange + blue (1″ punch)

Polka Dotted + Scalloped Paper Tablecloth

Yogurt Bar + Sign

Years one to 18 birthday cards

Telegrams on 4×6 index cards

04_FINAL-campbabyshower

DIY + Earring Ribbon


01-2_DETAIL

My desk is covered in crafting supplies right now. It makes the creative side of me so happy and the neat and organized side of me crazy to CLEAN ALL THE THINGS!

I’m working my way through all the craft projects for the Hazelnut’s baby shower, which is super fun and also masquerades as productivity. It’s got me in a camp-y crafting mood. So this DIY turned out a bit camp-y craft-y (look at me just make up words!). You know, like arts and crafts done in the fresh mountain air while sitting on a hard splinter ridden bench. What do you call that?

01_TITLE

I think I’m loving it, though. It’s feeding my organizational side. Now my earrings aren’t in a clump in a bowl where it is impossible to find a matching pair. See, organized side? I’m getting things cleaned up!
02_Materials

MATERIALS

16” of 1-1/2” (approx. 41 cm of 4 cm) cotton twill tape 

black embroidery floss + needle

large paper clip

needle nose pliers

scissors

(I’m not sure how the paint brush got in the photo. Like I said, my desk is a crafting mess!)
03_ToMake-Collage

TO MAKE

Fold the paperclip into an equilateral 1-1/2” (4 cm) triangle (with overlap). I mushed my corners around so they looked more sharp and less paperclip-like.

Fold the cotton twill tape end over on itself twice and press it down with the heat of your hand (I love cotton twill tape. No iron required!). Slip the overlapped edge of the paper clip into the fold of your cotton twill tape end. Hand stitch the end closed. Fold the other end of the cotton twill tape over on itself twice and stitch in the same way. Hang from a nail.
05_final

Happy (Valentine’s) Weekend + Stockholm

Happy Weekend!

I’m knee deep in party planning for baby Camp’s shower. Which means lots of party DIY will be happening this weekend. I’m so excited to get crafting!

acrossthewaterat_Nybrokajen

This shot is from our trip up to Stockholm last week for the Stockholm Furniture and Light Fair. It’s taken looking across the water at Nybrokajen as we walked to Vasamuseet. I am starting to think there is nothing more beautiful than light on water, especially after these cloudy late winter days. Is it almost spring, yet?

// DIYs for your weekend

spell out your love (or anything else) in chocolate 

or say it with donuts

or your legs!

this silver metal clay DIY is amazing

and these felted hearts are adorable

I hope you all have a lovely Valentine’s Day. xoxox.

  • 1
  • 2
  • Older

about

Hello! I’m an interior, user experience, and graphic designer with a love for purpose-driven minimalism. I am also a digital nomad originally from California, currently living in Barbados, by way of Colorado, with my husband and our two cats.

FOLLOW ALONG

  • Instagram
  • LinkedIn
  • Pinterest

just what you’re looking for

© Cindy Lackey | Site design handcrafted by Station Seven